How to Add a Subscription Form to Your Website
In the SendPulse landing page builder, you can add a subscription form to collect data from site visitors and subscribe them to campaigns or create deals with them.
Add the "Form" Element
Add the "Form" widget to the desired part of the template.

The widget settings will be opened on the left.
Select Where to Save Сontacts
You can select where to add your new subscribers.
Creating Deals and Contacts in CRM
By default, every time you get a new lead, your CRM system creates a new deal. Enter a deal name, and select a pipeline where you want to add your new contacts.
You can also transfer UTM tags to your CRM contact cards if a visitor clicks a UTM link and fills out a subscription form on your website.
Read more: How to Transfer UTM Tags from Website Subscription and Payment Forms to CRM.

Adding Contacts to Your Mailing List
You can also save contacts to your mailing list to send them campaigns later. Enable the option and select a mailing list where your new contacts will be stored.

Once you have added the widget, click the pencil icon, and go to the widget settings in its upper left corner.
Customize the Form Fields
Adding Fields
Add new form fields or customize existing ones by clicking on the pencil icon.
Please note that the "Email" field is required — it can not be deleted.

Select a field type.
| Entry field | Used to enter text by the user of up to 255 characters. You can also select the predefined fields "Name," "Phone," "Address," "Date," and "URL." |
| Checkbox | Used when there is a list of options from which the user can select any number: none, one, or several. If the checkbox is checked, the value "yes" is passed to the service variable. If unchecked, the value "no" is passed to the service variable.
For example, when subscribing, users can make several selections about what they want to receive from your company: news, discounts, contests, and invitations to events. You can also use a checkbox to obtain the client's formal consent to subscribe, and store and process personal data. You can add a link to your checkbox text, for example, your privacy policy or other materials. To do this, find the word you want to link to, and select the hyperlink icon. In the modal window that appears, enter your link in the “Link” field. You can also enter a hint in the “Title” field and choose if the link should be opened on the current page or on a new page. |
| Radio buttons | Used to select one of several options. You need to select the value that will be passed to the variable in the service. |

Enter a name for the field.
You can hide the field names in the field styles.

Enter a hint for the field in the placeholder.

Mapping Fields
Choose a mailing list or CRM contact/deal variable where you want to store the field value.
Please note that the values of all fields are passed to a variable of the "String" type. The values for the fields "Email" and "Phone" are saved in the standard system variables — email and phone.
You can select previously created variables. If the required variable is not on the list, create it in the corresponding mailing list. If there is no field in your CRM system, create a variable in the corresponding pipeline and contact settings.
Check if the field is required. If the field is required, the users' data will not be sent until they fill in all the required fields.

Customize the Form Style
Go to the "Form style" section.

To hide your field names, disable the "Field names" option. You can also configure your form fields to be laid out horizontally or vertically, remove field borders, adjust the color and size, change the text color and background, and align the content.

Customize the Button
In the "Shape button" field, click on the pencil icon to edit your button. Enter your text and select a style for the confirm and send button.

Customize the Confirmation Page
In “Additional form settings,” you can customize the message or page users see after they fill in and submit the form.

You can display a thank-you message with a subscription confirmation or redirect users to a certain URL. For example, you can create a confirmation page and add a link or forward users to a page with other content.
Show a Message
Select the "Show message" option to display your thank-you message.

To edit the text, click the pencil icon on the right, and the editor will open. Select the text you want to edit, and choose its color and formatting. You can also add lists, hyperlinks, or additional elements by editing the source code.

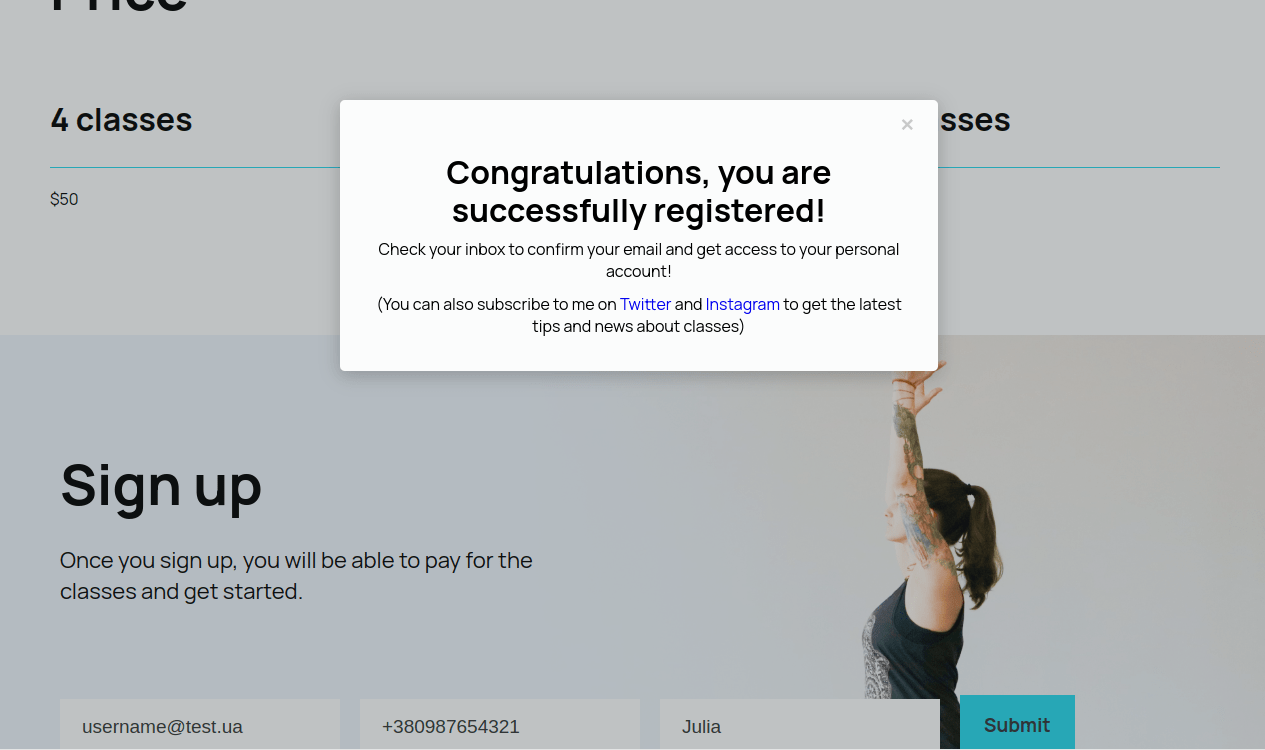
After the user subscribes, they will see your message as a modal window.
Go to a Page
If you choose the “Go to page” option, you can specify the URL where you want users to go or select a linked page created using the website builder.

Set Up Analytics
You can transfer your goals from your form to Google Analytics and Facebook Pixel events. Click Analytics settings.

Turn on the "Transfer the goal to Google Analytics" or "Transfer the goal to the Facebook pixel” toggle.
To complete your data transfer, add the Facebook pixel and Google Analytics code to your website settings.
Read more: How to Connect Google Analytics to Your Site and How to Connect Facebook Pixel to Your Site.

If you have turned on the "Transfer the goal to Google Analytics" toggle, enter your data in the "Category," "Action," and "Label" fields — these parameters will be transferred to Google Analytics in the "Events" section.

If you have turned on the "Transfer the goal to the Facebook pixel” toggle, the "Lead" event will be generated automatically. You will be able to see it in "Events Manager” in your Facebook Business Account.

Last Updated: 11.10.2023
or