How to Manage Contacts
You can track your work with contacts, view your interaction history, and see the progress of work with your deals. If necessary, you can manually add new data, leave comments, or contact the client directly.
Contacts are automatically created when you add them to deals or when they go to deals automatically. You can also add them through the "Contacts" tab.
How to Add a Contact
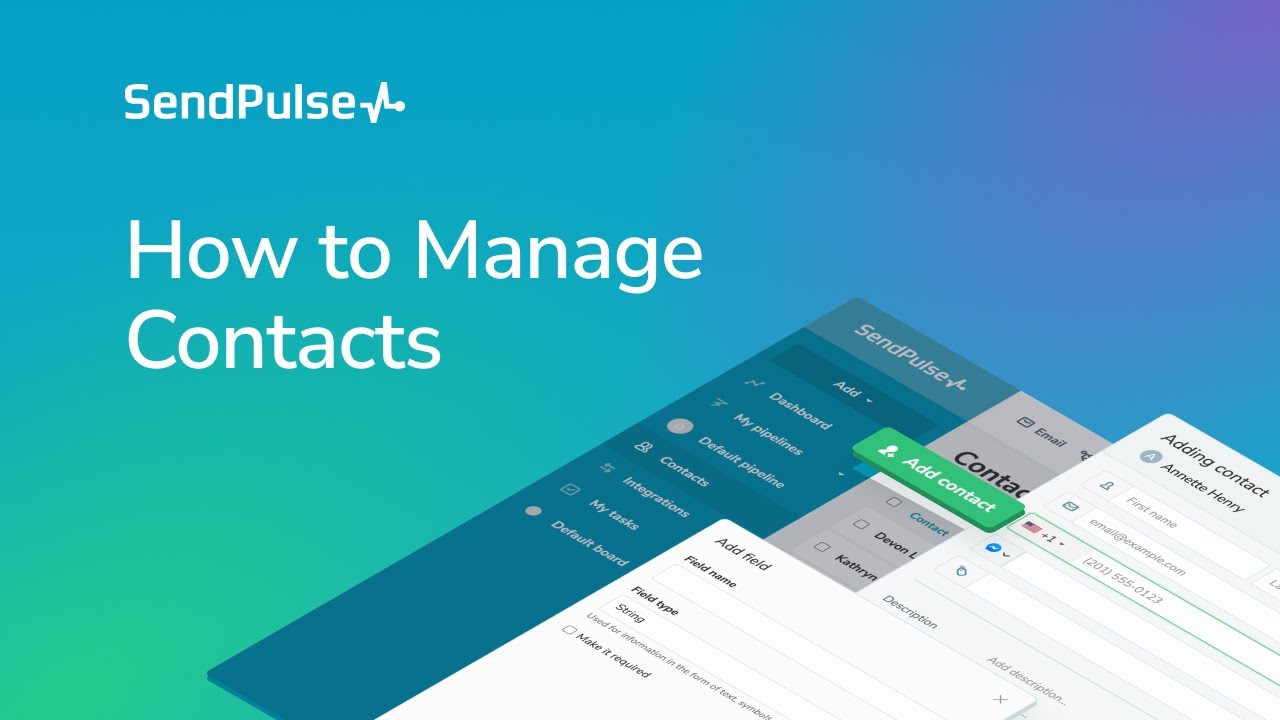
Go to the "Contacts" section and click Add contact.

Select a team member to assign to manage this contact. Then, enter the contact’s information. In the "Messenger" field, you can insert a phone number or username in the messenger. When you click on the icon you will be redirected to a specific messenger to chat with your client.

You can also add attributes for the contact: add tags, fill in fields or create a new field.

To add a new field, click Add field. Then, enter a name and select the field type. Check if you want to make the field mandatory.

Click Add Contact.
Now the contact will be available for selection when you are creating deals.
Also, contacts in your CRM database are created automatically when creating deals.
How to View your Contact List
To view your list of contacts, go to the "Contacts" section.
This list displays all of the contacts that you created manually in the "Contacts" section, added when creating a deal, and those that were added with the automatic source of the deal.
On the page, you will see the name of the contact, their contact details, the number of deals to which the contact has been linked, tags, and contact fields.

To show or hide contact fields, click on the three dots and mark the fields.

You can also remove duplicates among your contacts.
Read more: How to Remove Duplicate Contacts.
How to Filter Your Contacts
You can filter your contact list displayed on the screen.
To do this, go to the "Contacts" section, click “Filter”, and select the necessary filter criteria.
Filter Criteria
You can filter your contacts by the following parameters:
- date created: specify a time period, or select the "Last ... days" option;
- team member: select one or more team members assigned to your contact;
- source: select the source using which your contact was added (chatbot, subscription form, landing page, Automation360, payments, API, integration, or manually);
- first name, last name, email address, and phone number: enter contact details;
- messaging platform username and link: specify one or more messaging platforms, and add links to them;
- location: enter contact location and address;
- tag: enter the tag linked to your contact.
You can also filter your contacts by the fields you created for them.
If not all deal filter fields are displayed, click “Change filter fields” and select the filters you want to display.

Quick Access to Saved Filter Criteria
You can also save frequently used filters to reduce the time it takes to find the deals you need. To do this, select your filter criteria, click Select, and go to the page with the filtered data.
Click “Save filter” and save your filter settings.

Add a filter name to be able to quickly find it in the list.

To use your saved filter settings, go to “Filter” > “Saved filters,” and select a filter.

You can also switch between saved filters on a page with filtered contacts.

How to Work with Contact Information
General
Click on a contact to view and edit their information.
You can edit the contact’s first and last name and view the source and date when they were added at the top of the contact page.

Contact Information
The customer's contact information is displayed below their name. If necessary, you can change the phone number, email address, and selected messenger profile to communicate with the client.

If you have several phone numbers or email addresses for one subscriber, you can mark one of them as primary. This will help your team members navigate loads of contact info easier and limit the number of messages triggered by events in CRM.
To do this, click the field where you have several phone numbers or email addresses, select one of them, and click Save.
By default, the contact info that was added first is marked as primary.

Team Member
You can also change the team member responsible for a contact.
Read more: How to Manage Permissions.

Attributes
You can also see the contact attributes. Add contact preferences and features to personalize your communication with customers via email, SMS, and chatbots. To do this, enter or select the value you see next to the required contact attribute, or create a new one.
Read more: How to Manage Contact Attributes.

If a visitor goes to your website using a link with UTM tag fills out a subscription form on your SendPulse-based website, or registers for a course created with the “EDU” service, these tags will be transferred to the corresponding contact fields.
History and Comments
In the "History" subsection on the right, you can add comments about a contact, mention other team members, and attach documents. You can see the history of your work with the contact and your deal progress with all the comments below. You can choose to view the entire history or only the comments.
Learn more: How to Work with Contact History and Comments.

Deals
The "Deals" tab displays the list of deals associated with your selected contact.

To add a new deal for the selected contact, click +Add deal.

Enter the deal name and amount, and select the team member, deal stage, and deal type. Create new fields as needed. Click Add deal.

You can also add a deal for a contact by clicking the "Add deal" icon.

Payments
In the "Payments" tab, you can see more information on the contact's payments: payment system, amount, description, status, and date.
The selected payment system provides details on all payment statuses. For more information, we recommend contacting your payment service provider’s support team.

In the "Email" tab, you can connect the client's email address to CRM.
The "Education" tab displays the courses for which the contact has registered, course progress, and the courses they have already taken.
The "Email" and "Education" tabs are currently under development.
Calls
In the "Calls" tab, you can view the following client activity data: call date and time, duration, type (incoming, outgoing, missed), recording, and the manager who interacted with the client.

How to Add a Task
You can add a task to an existing contact card or when creating a new one. To do this, open or start creating a contact, scroll the left panel, and click + Add task.

Enter your task name, fill in all the required fields, and click Add task.
Read also: How to Create a Task and How to Work with Tasks.

Your task will appear in the contact card. It will indicate your task’s title, status, due dates, and assignee. To edit a task or view it as a card, click it.

To unlink a task, click the unlink icon next to the task name.

How to Add Files
You can attach files to a contact to share them with all its members. Click + Add File, choose a file from your account storage, or upload a new file from your device.
The maximum file size the free plan allows is 200 MB. Your file storage capacity is not defined by services but is set based on the storage capacity of the largest pricing plan among all services. To increase your storage capacity, upgrade your pricing plan. Read more: How to Work with the File Manager.

Click the meatballs icon to manage your file after it has been downloaded.
| Download | Download the file to your device. |
| Show in folder | Show where the file is located in the SendPulse storage. |
| Remove from task | Remove the file from this task but not from the SendPulse storage. |
| Delete | Delete this file from the task and the SendPulse storage. |

How to Go to the Contact Page
You can also go to the contact page to view more detailed information or edit data.
To do this, select your contact, and click on the "Contact details" icon.

On the left, you can view or edit their first and last name or contact details, connect or delete a contact, and create a new deal.

Then, you can select your new team member and view and edit contact attributes. You can also add a new field.

On the right of the "History" tab, you can add a comment about the contact and view the history of working with them. You can choose to view the entire history or only the comments.

The "Deals" tab displays the list of deals associated with the contact. You can also add a new deal here.

In the "Payments" tab, you can view more information on the contact's payments: payment system, amount, description, status, and date.

In the "Email" tab, you can connect the client's email address to CRM.
The "Education" tab displays the courses for which the contact has registered, course progress, and the courses they have already taken.
The "Email" and "Education" tabs are currently under development.
How to Reach a Client
You can reach out to the client directly from the contact card via chatbot or email.
The button "Send via chatbot" will be available if the contact is subscribed to one of your linked chatbots. Then you can click Open chat and go to the chat.
You can also send an email the contact — to do this, click Send email.

When configuring the transfer of contacts to mailing lists, you can configure automations and filter segments using variables.
You can also use triggers "Creating a deal" or "Changing deal status" to start automations.

You can also include these triggers in the conditions of autoflows and create personalized scripts — add a script branch based on whether a contact’s status has changed or you have created a deal.
How to Set Up Contacts
To customize your contacts, go to "Contacts" > "Settings" section.

You can select a team member assigned to automatically added contacts, and customize fields and contact tags.

How to Export Contacts
You can export contacts manually or configure automatic exports of all your CRM contacts to a mailing list for bulk or automatic email campaigns.
Learn more: «How to Export Contacts»
How to Block and Unblock an EDU Contact
You can block student contacts from the EDU section so that they cannot re-register and take your courses. Also, blocked students are not included in your pricing plan.
To block a student, open their card, and go to the "Courses" tab. Click Block. Then, confirm the action in the next window.

To unblock a student or view the list of blocked contacts, go to the “Blocked Students” tab. Also, using the filter, you can select students by certain parameters.

Find the necessary contact, and click Unblock.

To unblock a student or view the list of blocked contacts, go to the “Blocked Students” tab. Also, using the filter, you can select students by certain parameters. Click Unblock.

Last Updated: 14.09.2023
or